 how-to
Document Roof Damage for Insurance: Step-by-Step Guide
Table of Contents
- Why Documenting Roof Damage Matters for Your Insurance Claim
- Assess Roof Damage Safely Before You Start
- Gather Your Roof Damage Insurance Claim Checklist
- Photograph and Video Your Roof Damage Properly
- Identify Signs of Storm Damage on Your Roof
- What to Say to Your Insurance Adjuster About Roof Damage
- File Your Claim and Manage the Process
- Take Temporary Repairs to Prevent Further Damage
- Frequently Asked Questions
Last Updated: October 2, 2026
Why Documenting Roof Damage Matters for Your Insurance Claim
When storm damage hits your roof, the difference between a successful insurance claim and a denied one often comes down to documentation. Strong evidence of what happened protects your interests and gives your insurance adjuster clear facts to work with.
Strong documentation, photos, videos, and written records, shows the insurance company exactly what occurred, protecting your claim.
The most successful claims share one thing in common: thorough, organized documentation collected immediately after damage occurs.
This guide walks you through the exact steps to document roof damage insurance and present evidence effectively.
Assess Roof Damage Safely Before You Start
Before documenting, assess whether it's safe to inspect your roof yourself. High winds, wet surfaces, and steep angles create serious risks.
Safety first:
- Stay off the roof if weather is still active or conditions are wet
- Use binoculars to examine damage from the ground
- Wear non-slip shoes if you do go up
- Never climb alone
- Consider hiring a professional roof inspection instead
Many homeowners can safely document damage from ground level using a smartphone. If you're uncomfortable with heights, a professional inspection provides official documentation your insurance company trusts.
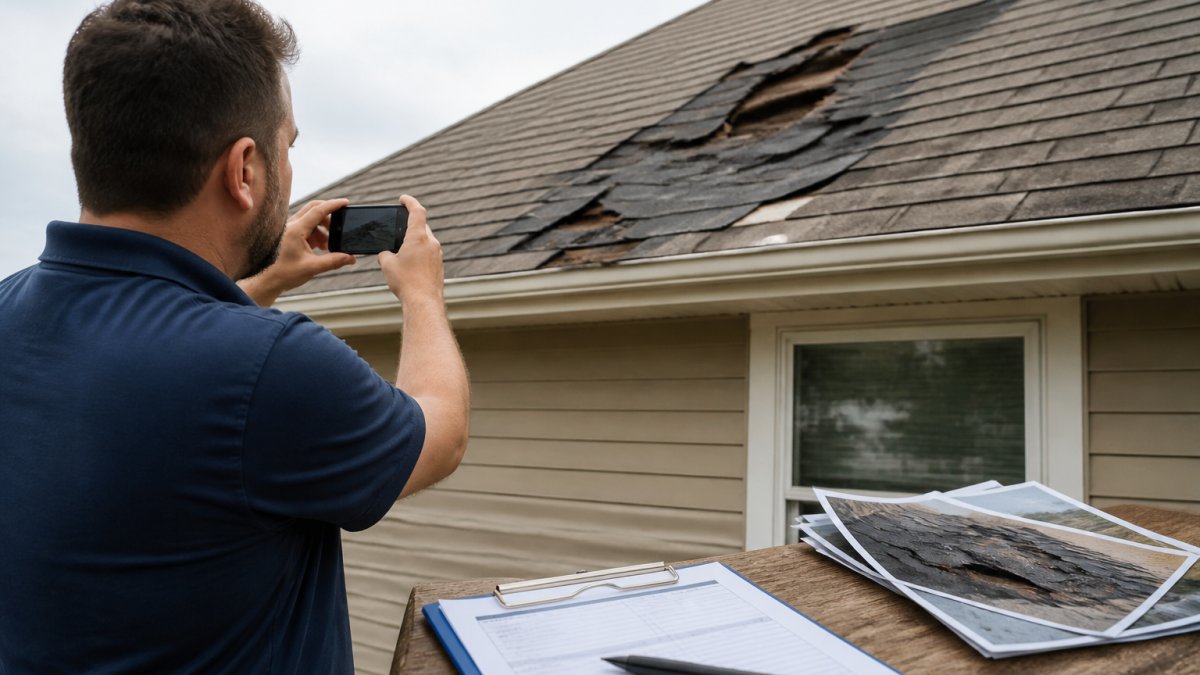
Take photos from multiple ground-level angles and zoom in on damaged areas to capture evidence safely.
Gather Your Roof Damage Insurance Claim Checklist
Organization matters when filing a claim. Gather these items before you start documenting.
Essential Documents to Collect
Locate your policy declaration page, which shows your coverage limits and deductible.
Gather previous roof inspections or maintenance records to establish the roof's pre-storm condition.
Collect official weather reports showing wind speeds, hail size, or other storm data to strengthen your claim.
Gather contractor estimates to support your claim amount.
Information to Record During Your Assessment
Record the date, time, and weather conditions when you first noticed the damage.
Record the type of damage you see:
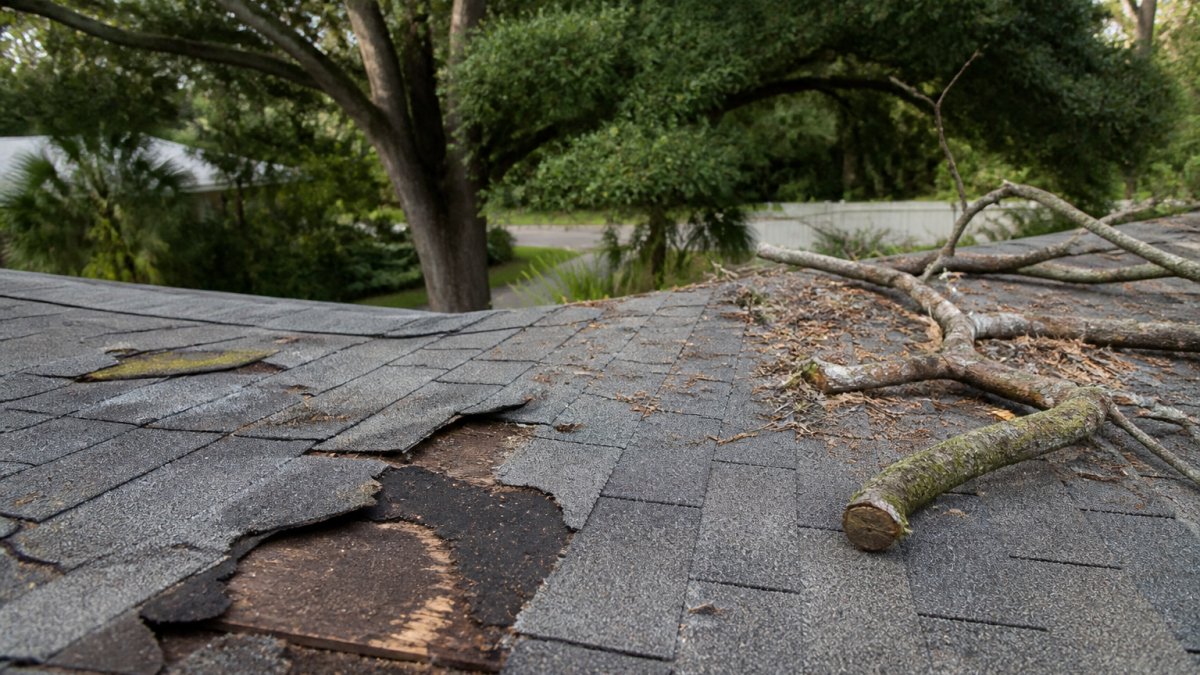
- Missing or cracked shingles
- Dents in metal surfaces like flashing
- Granule loss (bare spots on shingles)
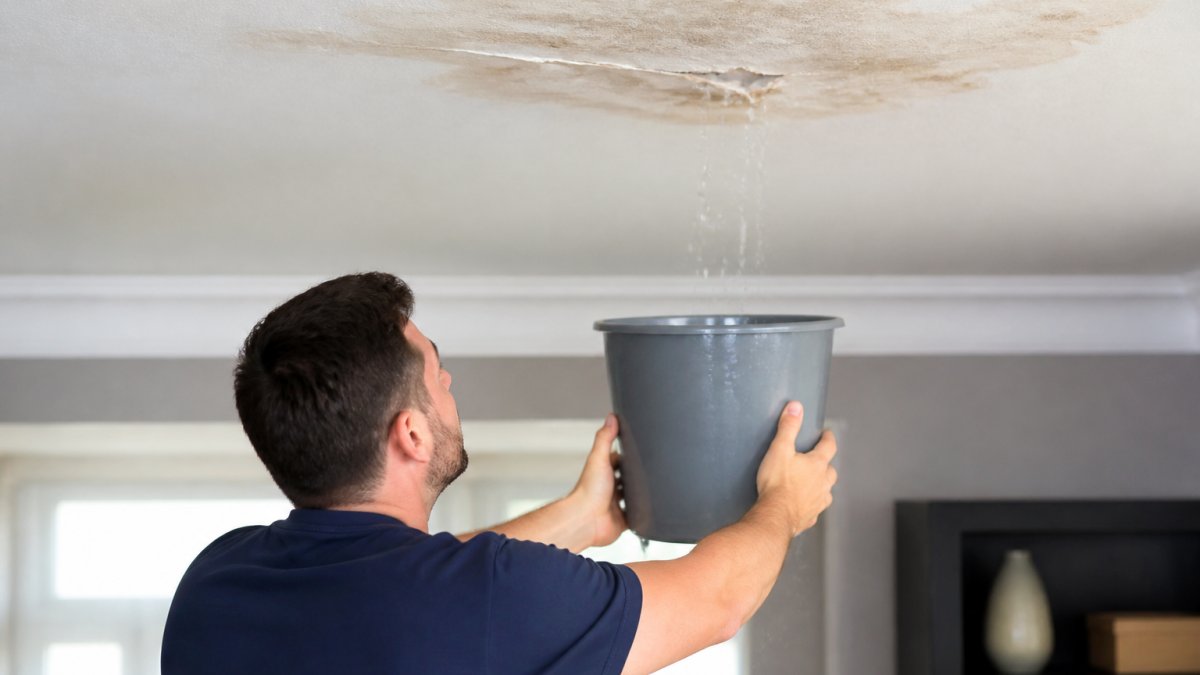
- Water intrusion or leaks inside
- Damage to gutters or downspouts
Describe where on the roof the damage appears. Note if it's concentrated in one area or spread across multiple roof slopes.
Write down what you believe caused the damage. Was it high wind, hail, falling branches, or another storm event? This narrative helps the adjuster understand the claim.
Photograph and Video Your Roof Damage Properly
Photos and video are your strongest evidence. They show exactly what happened and where. However, the way you capture, store, and present that evidence matters as much as the images themselves.
Best Practices for Photo Documentation
Take photos from multiple angles. Start with wide shots showing the overall roof and damage location. Then zoom in on specific problem areas.
Capture close-ups of individual damaged shingles, missing sections, and granule loss. These details matter to adjusters evaluating the claim.
Include reference objects in photos. A ruler, coin, or your hand next to damage helps show the scale of the problem.
Use natural daylight for clarity. Overcast days work well because shadows are minimal and details are visible.
Take photos from the ground using binoculars and zoom. You don't need to climb the roof to get clear, useful images.
Preserve Photo Metadata and Timestamps
Metadata embedded in digital files proves when and where a photo was taken, confirming documentation wasn't altered or backdated.
Enable automatic timestamp and location tagging on your device: on iPhones, enable "Location Services" in the Camera app; on Android, turn on "Location" in Camera settings.
If your camera doesn't auto-timestamp, use a timestamping app that overlays the date and time visibly on the photo.
Do not edit, crop, or filter photos before submitting them to your insurance company. Save originals separately from any edited versions.
Write down the date, time, and weather conditions as you photograph to corroborate your digital evidence.
Organize and Back Up Your Evidence
Organize photos in a labeled folder: "Front roof shingles missing," "Flashing damage east side," etc.
Upload all photos and videos to cloud storage immediately (Google Drive, Dropbox, OneDrive, or iCloud) to create a timestamped backup and protect evidence.
Create a second backup on an external hard drive stored offline in a safe location.
Keep a spreadsheet listing all photos and videos by filename, date taken, location, and damage type.
Creating a Video Walkthrough
Record a video panning slowly across damaged areas, narrating what you see to help the adjuster understand the damage's extent.
Walk the perimeter of your home, showing the roof from different angles and including gutters, downspouts, and affected areas.
Request a Free Roofing Estimate →
Point out specific damage: "Three missing shingles here" or "Flashing on the east side is dented and separating."
Keep the video steady with both hands; slow pans are clearer than quick movements.
Include the date and time in your video; state it aloud at the beginning if your phone doesn't add it automatically.
Upload the video to cloud storage immediately to prevent loss if your device fails.
Record a second video from inside showing water intrusion, stains, or interior damage to strengthen your claim.
Identify Signs of Storm Damage on Your Roof
Storm damage takes several forms. Knowing what to look for helps you spot problems you might otherwise miss.
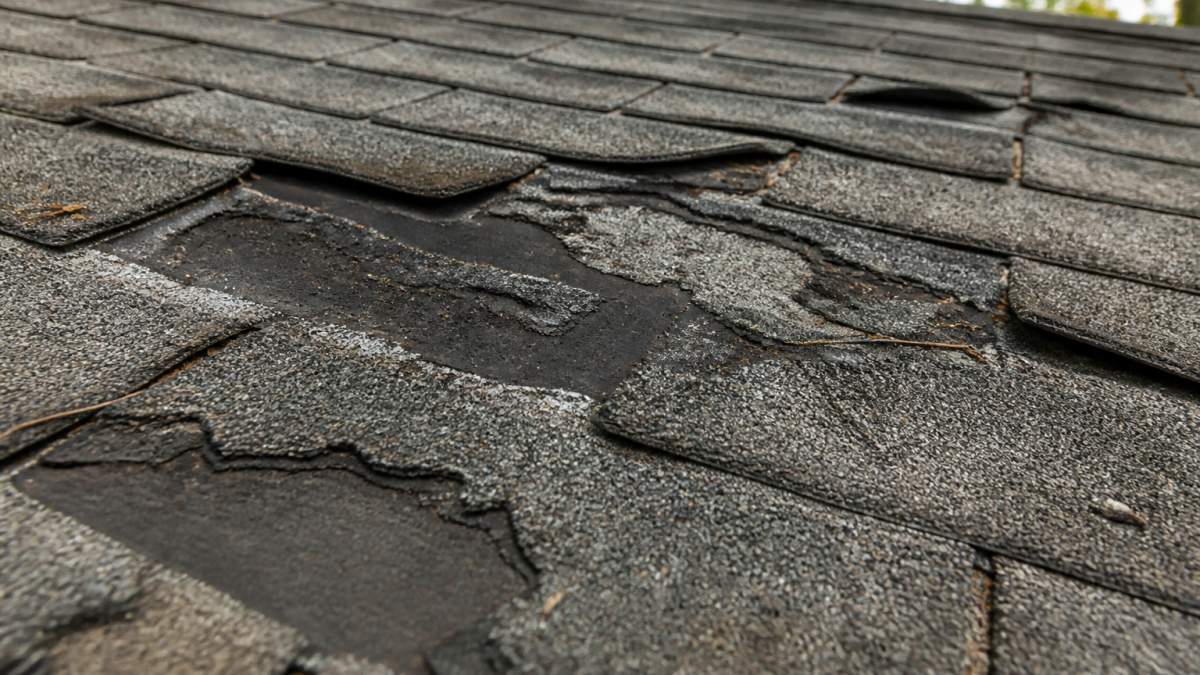
Common storm damage signs:
- Missing or partially missing shingles
- Cracked or split shingles
- Shingles that are curled or bent at the edges
- Granule loss, leaving bare spots on the shingle surface
- Dents or punctures in metal flashing
- Damaged or missing gutters
- Leaks or water stains inside your home
- Soft spots or sagging in the roof structure
Hail damage appears as small dents; wind damage shows missing shingles or lifted edges; water damage creates interior stains.
Examine roof slopes facing the storm direction, which typically show the most damage.
Check valleys and ridges where water collects, as damage here can lead to leaks.
Examine soft metal surfaces like flashing around chimneys and vents, which dent easily and allow water entry.
What to Say to Your Insurance Adjuster About Roof Damage
When the insurance adjuster arrives, clear communication and formal documentation help your claim. Written documentation often matters more than verbal explanation.
Prepare a Written Damage Report Before the Adjuster Visit
Write a formal damage report and provide it to the adjuster before their visit; this becomes part of your official claim file.
Structure your report as follows:
Header: Include your name, policy number, claim number (if assigned), address, phone number, and email.
Date and Time of Damage: State the exact date you first noticed damage and the time, if known. Include the date you are submitting the report.
Weather Event Description: Describe the storm and include weather data (wind speed, hail size, heavy rain). Reference official weather reports.
Damage Summary: Write a factual narrative describing the storm and damage. Example: "On [date], a severe thunderstorm with 60+ mph winds and quarter-inch hail struck the property, concentrating damage on south and east roof slopes with missing shingles, granule loss, and dented flashing."
Detailed Damage List: Use a bulleted or numbered list to catalog each area of damage:
- South roof slope, east end: 5 missing shingles, granule loss on adjacent shingles
- East roof slope, ridge line: dented metal flashing, separation at seams
- North gutter: dents and one section pulled away from fascia
- Interior: water stain on master bedroom ceiling, 2 feet by 3 feet
Supporting Documentation: List what you are providing: "Attached: photographs with timestamps, video walkthrough, weather report, previous roof inspection report." This tells the adjuster what to expect.
During the Adjuster Visit: Communication Strategy
Stick to facts. Say "I see three missing shingles on the south slope" rather than "The damage is extensive."
If Your Claim Is Denied or Underpaid: The Appeal Process
If your claim is denied or underpaid, you have the right to appeal using your documentation.
File Your Claim and Manage the Process
Timing matters when filing a claim. Act quickly but carefully.
When to Contact Your Insurance Company
Contact your insurance company as soon as it's safe to assess the damage, as many policies require prompt notice.
Ask what documentation they need.
What Information to Include in Your Damage Report
Write a clear description including the date, time, and weather conditions.
Reference the photos and videos you've collected.
Describe the repairs you believe are needed.
Take Temporary Repairs to Prevent Further Damage
While you wait for the adjuster or repairs, prevent additional damage.
Cover holes or missing sections with tarps secured firmly.
Don't make permanent repairs before the adjuster visits.
Frequently Asked Questions
What documentation do I need for a roof damage claim?
You'll need your homeowners insurance policy, photos and videos of the damage with date/time stamps, a written description of what happened, any contractor estimates, proof of loss form, and your claim number once filed. Keep all receipts for temporary repairs. A licensed roofer's assessment can also strengthen your claim by providing professional documentation of the damage and scope of work needed.
How do I safely document roof damage without putting myself at risk?
Stay off the roof entirely. Use binoculars or a telephoto lens to inspect from the ground, or photograph from a ladder placed safely on level ground. Take photos from multiple angles of the property exterior. If you're uncomfortable with any part of the process, a professional roof inspection is a safer alternative and provides credible documentation for your insurance adjuster.
What should I avoid saying to my insurance adjuster about roof damage?
Don't exaggerate or speculate about causes. Stick to facts: what you observed, when you noticed it, and what damage is visible. Avoid admitting fault, discussing your financial situation, or accepting the first offer without reviewing it carefully. Don't make repairs before the adjuster inspects unless necessary for safety or to prevent further water intrusion. Let your documentation speak for itself.
How long do I have to file a roof damage claim after a storm?
Most homeowners insurance policies require you to report damage promptly, typically within 30-60 days of the incident. Check your policy declaration page for your specific deadline. Report the damage as soon as safely possible after a storm, even if you haven't assessed the full extent yet. Delaying notification can complicate your claim or result in denial.