 how-to
How to Handle Roof Cleanup: A Step-by-Step Guide
Table of Contents
- Why Roof Cleanup Matters
- What to Expect After Roof Installation
- Roofing Debris Removal Best Practices
- How to Find Nails in Grass After Roofing
- Cleanup During the Roofing Process
- Documenting Cleanup Issues and Site Inspection
- Communication with Your Roofing Contractor
- Conclusion
- Frequently Asked Questions
Last Updated: September 25, 2026
Why Roof Cleanup Matters
Roof cleanup is one of the most overlooked aspects of a roofing project. When contractors finish a roof replacement or major repair, they leave behind debris that can damage your property and create safety hazards for your family. Nails scattered across driveways and landscaping aren't just an inconvenience, they can puncture tires, injure pets, and cause rust stains on concrete. At Roofing Done Right, we understand that thorough roof cleanup is essential to protecting your investment and maintaining the appearance of your home.
The cleanup process begins before work starts and continues long after the last shingle is installed. Proper site preparation and meticulous removal of debris are what separate professional contractors from those who cut corners. When you work with a contractor who prioritizes cleanup, you gain peace of mind knowing your property will be treated with respect.
What to Expect After Roof Installation
After a roof replacement, you should expect your contractor to remove all visible debris from your property. This includes shingles, nails, tar paper, and old roofing material. The cleanup process typically involves sweeping driveways, clearing gutters, and inspecting the yard for stray nails and fasteners.
Most professional contractors complete initial cleanup on the day work finishes. However, a thorough inspection may reveal small debris pieces that require a follow-up visit. A reputable contractor will schedule this without hesitation and at no extra cost.
Your contractor should also protect your landscaping throughout the project. This means using tarps over flower beds, securing gutters to prevent debris from falling into downspouts, and establishing a work area that keeps damage to a minimum. When contractors plan ahead, cleanup becomes manageable and your property remains protected.
Roofing Debris Removal Best Practices
Effective roofing debris removal requires a systematic approach that adapts to the age and composition of your roof. The best practices include establishing a contained work area, using protective equipment, and implementing a multi-stage cleanup process, with special protocols for older roofs that may contain hazardous materials.
Stage 1: Preparation
- Cover landscaping with tarps before work begins
- Position debris collection bins close to the work area
- Establish clear pathways for foot traffic
Stage 2: Active Removal
- Collect large debris (old shingles, tar paper) in bins throughout the day
- Sweep work surfaces regularly to prevent debris from spreading
- Use tarps to catch falling material on lower sections
- Maintaining a clear workspace is essential for safety, yet managing the final disposal of construction debris removal requires careful coordination with local waste management protocols.
Stage 3: Final Inspection
- Perform a detailed walkthrough of all areas
- Use a magnet roller to collect nails from driveways and walkways
- Clear gutters and downspouts of debris
- Inspect landscaping for damage and debris
Managing Nail and Shingle Waste
Nails and shingles represent the bulk of roofing debris. Shingles are bulky but relatively easy to collect and dispose of in bins. Nails, however, require special attention because they're small, sharp, and easily overlooked.
Professional contractors use magnet rollers to collect nails efficiently. These tools attract ferrous metals and pull them from grass, gravel, and other surfaces. A magnet roller can cover large areas quickly and catches nails that manual sweeping would miss.
Shingle waste disposal varies by contractor and local regulations. Ask your contractor about their waste management plan. Responsible disposal protects the environment and reflects a professional operation.
For older roofs containing asbestos or lead-based materials: The contractor must transport these materials to a facility licensed to handle hazardous waste. This is not optional, it is required by the Environmental Protection Agency (EPA) and most state environmental agencies. Verify that your contractor has documented proof of proper disposal before final payment.
Protecting Your Landscaping During Cleanup
Your landscaping is vulnerable during a roof replacement. Heavy foot traffic, falling debris, and equipment placement can damage plants, shrubs, and lawn areas.
Key protection steps:
- Cover flower beds and shrubs with tarps before work starts
- Establish a single pathway for workers to minimize ground impact
- Keep equipment and debris containers away from landscaping
- Inspect plants after cleanup for damage or debris
When contractors take landscaping protection seriously, your yard recovers quickly after the project.
How to Find Nails in Grass After Roofing
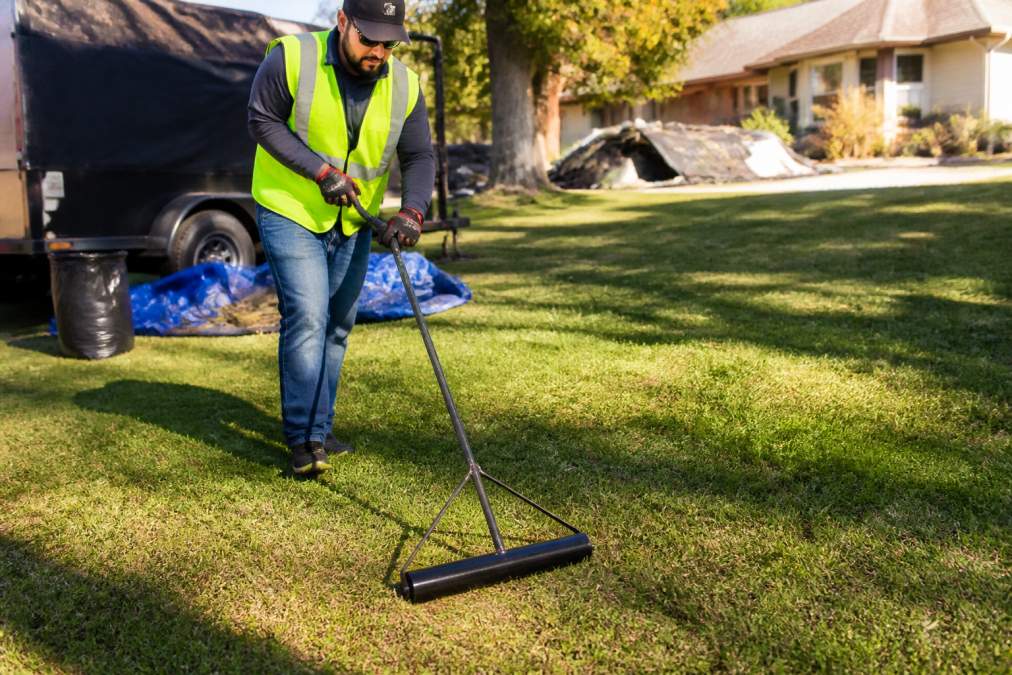
Finding nails left behind after roofing is challenging because they're small and easily hidden in grass.
Request a Free Roofing Estimate →
Using a magnet roller:
- Push the roller slowly across all yard areas
- Make overlapping passes to ensure complete coverage
- Empty the magnet frequently into a collection container
- Pay special attention to areas near the home's foundation
If you find nails weeks or months after the project, contact your contractor. Reputable contractors stand behind their work and will return for a follow-up cleanup at no charge.
Cleanup During the Roofing Process
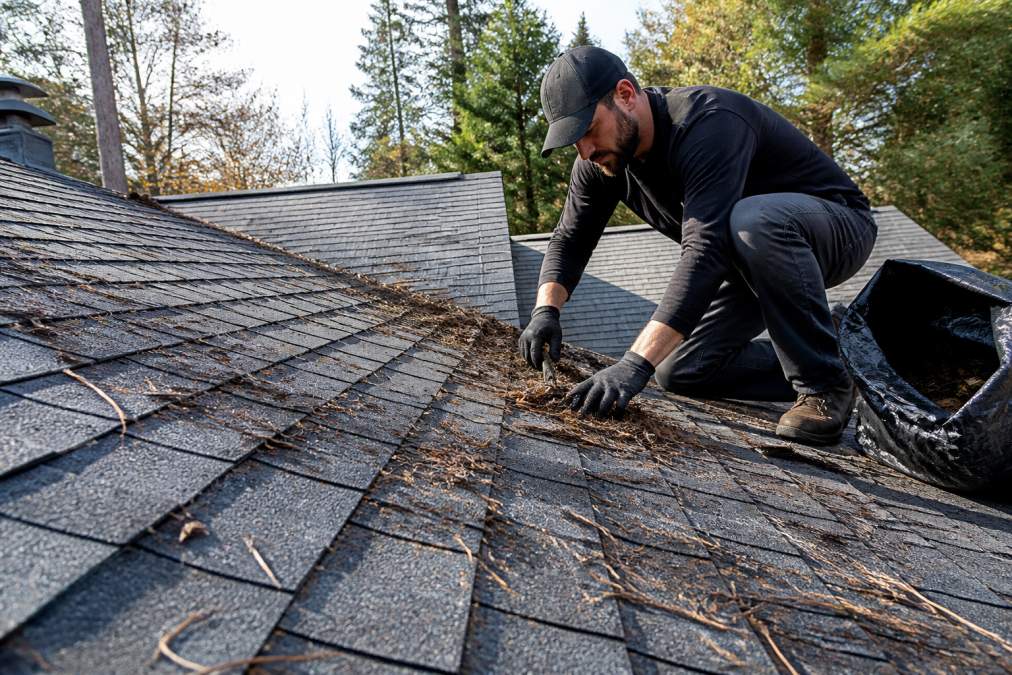
Cleanup doesn't happen only at the end. Professional contractors clean as they work, removing debris daily to maintain a safe and organized work area.
During-project cleanup includes:
- Removing debris from gutters daily
- Sweeping work surfaces to prevent debris spread
- Securing tarps to contain falling material
- Keeping pathways clear for safe movement
Documenting Cleanup Issues and Site Inspection
Documentation protects you if cleanup problems arise after the project ends. Before signing off on the work, conduct a thorough walkthrough with your contractor and create a record of the property's condition.
Create a cleanup checklist:
- Driveway clear of debris and nails
- Gutters and downspouts cleaned
- Landscaping inspected for damage
- Yard swept and inspected with magnet roller
- All debris containers removed from property
- Work area restored to original condition
- Any pre-existing damage to landscaping, vehicles, or structures documented and discussed
Understanding Liability for Cleanup-Related Property Damage
During the cleanup phase, contractors can accidentally damage your property, denting gutters, crushing plants, scraping siding, or breaking windows. Understanding who is responsible for these damages protects you legally and financially.
Key liability principles:
- Most roofing contractors carry general liability insurance that covers accidental damage caused during their work, including cleanup operations
- Before work begins, ask your contractor to provide proof of active liability insurance and confirm the coverage limits
- If damage occurs during cleanup, document it immediately with photos and written notes of what happened and when
- Report the damage to your contractor in writing (email is acceptable) within 24 hours; most insurance claims require prompt notification
- The contractor's liability insurance should cover repairs to your property at no cost to you
If the contractor disputes liability or refuses to address damage:
- Contact the contractor's insurance company directly with your documentation and photos
- Keep copies of all written communication (emails, text messages, photos) in a single file
- If the damage is significant, obtain a written repair estimate from a licensed contractor
- Many homeowners' insurance policies cover property damage caused by third parties; file a claim and let your insurer pursue recovery from the roofing contractor's liability policy
Prevention is the best approach:
- Discuss property protection explicitly before work begins
- Ask the contractor to identify high-risk areas (delicate plants, vehicles, outdoor equipment) and confirm how they will protect them
- Request that the contractor move vehicles away from the work zone during the project
- Consider having the contractor sign a pre-project property condition agreement that documents the baseline state of your landscaping and structures
Communication with Your Roofing Contractor
Clear communication about cleanup expectations prevents misunderstandings and ensures quality results. Discuss cleanup details before work begins, not after.
Topics to cover:
- What cleanup is included in the project price
- Timeline for debris removal and final cleanup
- How nails will be collected (magnet roller, manual inspection)
- What happens if cleanup issues are discovered later
- Whether follow-up visits are included at no charge
Conclusion
Roof cleanup is a critical part of any roofing project. It protects your property, ensures safety, and reflects the professionalism of your contractor. By understanding what quality cleanup looks like and communicating your expectations clearly, you can avoid common problems and enjoy your new roof with confidence.
Frequently Asked Questions
How do professional roofers clean up nails after a replacement?
Professional roofers use magnet rollers to collect loose nails from driveways and yards, sweep the work area thoroughly, and bag all shingle waste and metal debris for proper disposal. A thorough roof cleanup includes checking gutters, downspouts, and landscaping for stray fasteners. The best contractors treat cleanup as part of the job itself, not an afterthought, ensuring your property is left in the condition it was found.
What should I expect from a contractor regarding site cleanup?
You should expect daily cleanup of the work area, protection of landscaping and driveways with tarping or barriers, removal of all roof debris and waste materials, and a final walkthrough inspection. A reputable roofing contractor will clear the site at the end of each workday and perform a comprehensive post-job inspection with you before leaving. Ask about cleanup expectations before signing a contract so there are no surprises.
Is it the homeowner's responsibility to handle roof cleanup?
No. Roof cleanup is the contractor's responsibility as part of the roofing project. The contractor creates the debris and hazards during the work, so they must remove it. However, you should verify cleanup terms in your contract and confirm what is included in the final price. If cleanup is listed as an add-on, discuss that cost upfront. A professional contractor includes thorough cleanup as standard practice.
How can I ensure my landscaping is protected during roof cleanup?
Before work begins, walk the property with your contractor and identify areas to protect, such as gardens, shrubs, and parked vehicles. Request that the contractor use tarping or plywood barriers around landscaping, use ground protection for high-traffic areas, and avoid throwing debris directly into yards. Document the property's condition with photos before work starts. After cleanup, inspect for any damage and address concerns immediately with your contractor.