 how-to
Roof Insurance Claim Documentation Tips
Table of Contents
- Why Roof Insurance Claim Documentation Matters
- How to Photograph Roof Damage for Your Claim
- Creating a Roof Damage Report for Insurance Claims
- Building Your Roof Damage Insurance Claim Checklist
- Documenting Roof Leak Insurance Claims
- Preparing for Your Insurance Adjuster Inspection
- Submitting Your Roofing Insurance Claim Documentation
- Frequently Asked Questions
Last Updated: October 18, 2026
Why Roof Insurance Claim Documentation Matters
When a storm damages your roof, the difference between a smooth insurance claim and a frustrating one often comes down to documentation. Insurance companies need clear evidence of what happened, when it happened, and how much it will cost to fix.
The goal is simple: create a paper trail so strong that your insurance adjuster can approve your claim quickly. This means photos, receipts, repair estimates, and a clear timeline. At Roofing Done Right, we work with homeowners through roof insurance claims regularly, and we understand how good documentation makes the entire process smoother.
Most homeowners don't know where to start. They take a few blurry photos and hope that's enough. It rarely is. The insurance company will send an adjuster to inspect the damage themselves, but having your own documentation ready shows you're serious and organized.
How to Photograph Roof Damage for Your Claim
Taking good photos is the foundation of solid roof insurance claim documentation. Your images need to show the damage clearly and prove it was caused by the storm, not by age or poor maintenance. Most adjusters see hundreds of claim photos a month, so a repeatable method beats a random camera roll every time.
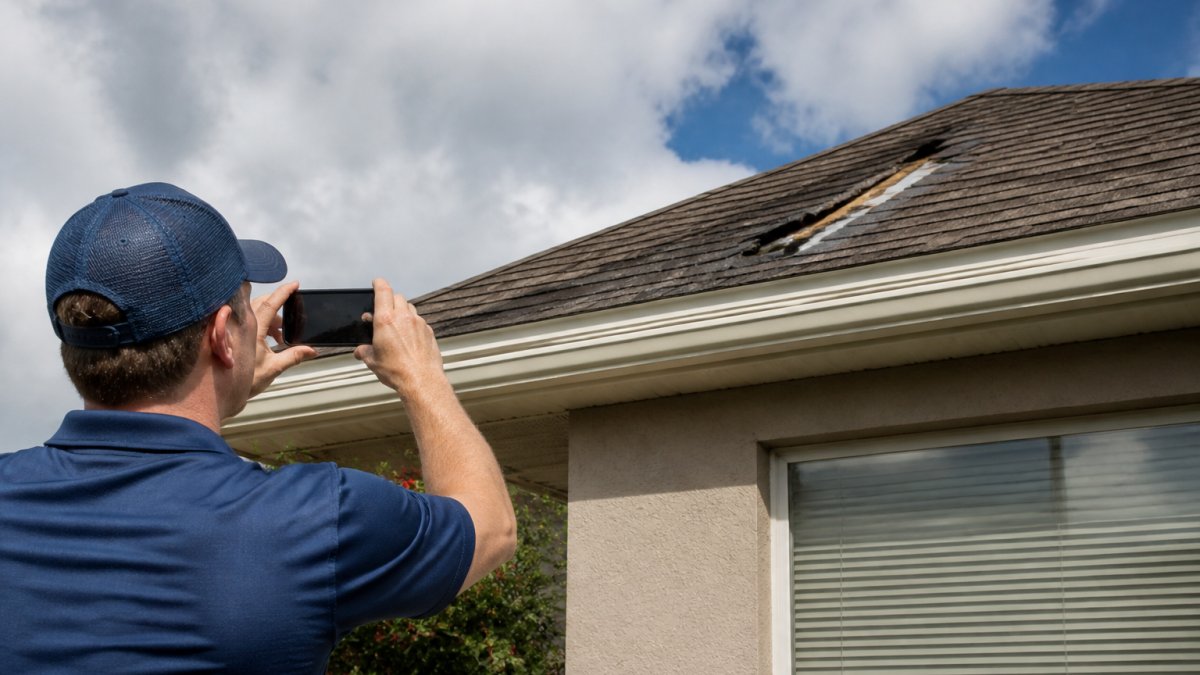
Safe vantage points
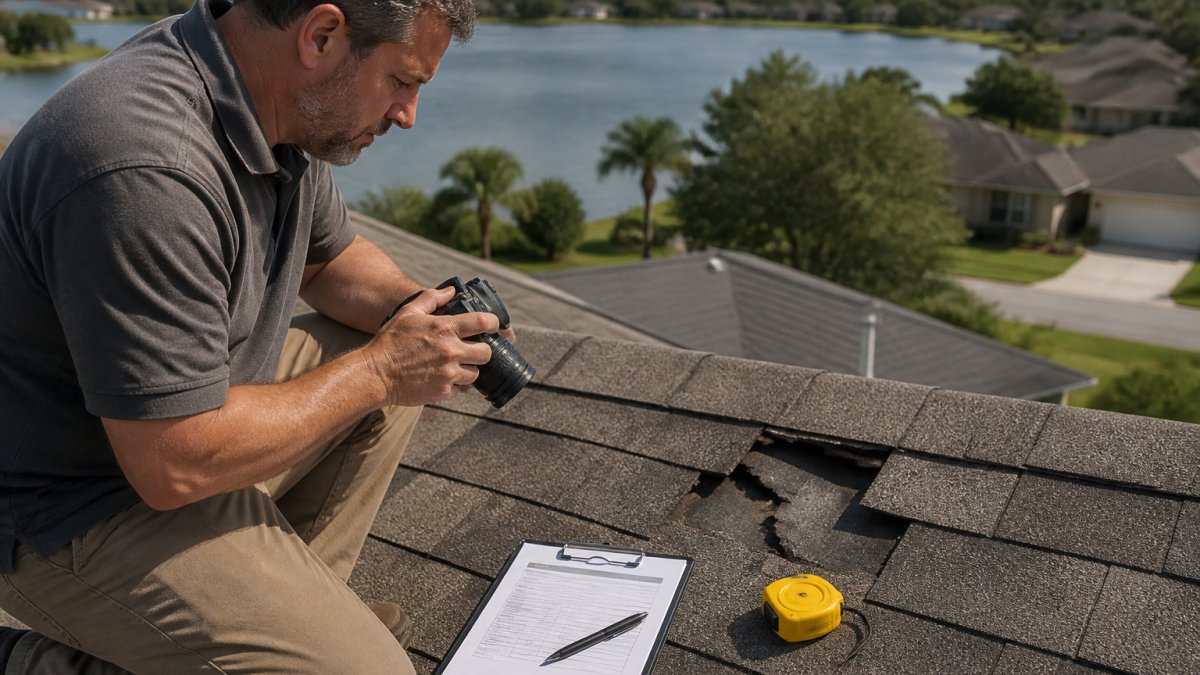
Start from the ground. Use your smartphone or a digital camera with good resolution. Shoot from multiple angles around the perimeter so the adjuster can see the full scope of damage. Take wide shots that show the overall roof and the surrounding area, then zoom in on specific damage spots. If you can safely access your roof from a window or a stable ladder on level ground, take a few shots from above. But safety comes first. If you're not comfortable on a ladder or roof, skip this step. A professional roofer or adjuster can document from above if needed.
A repeatable shot list
For each damaged area, capture a sequence that tells a story:
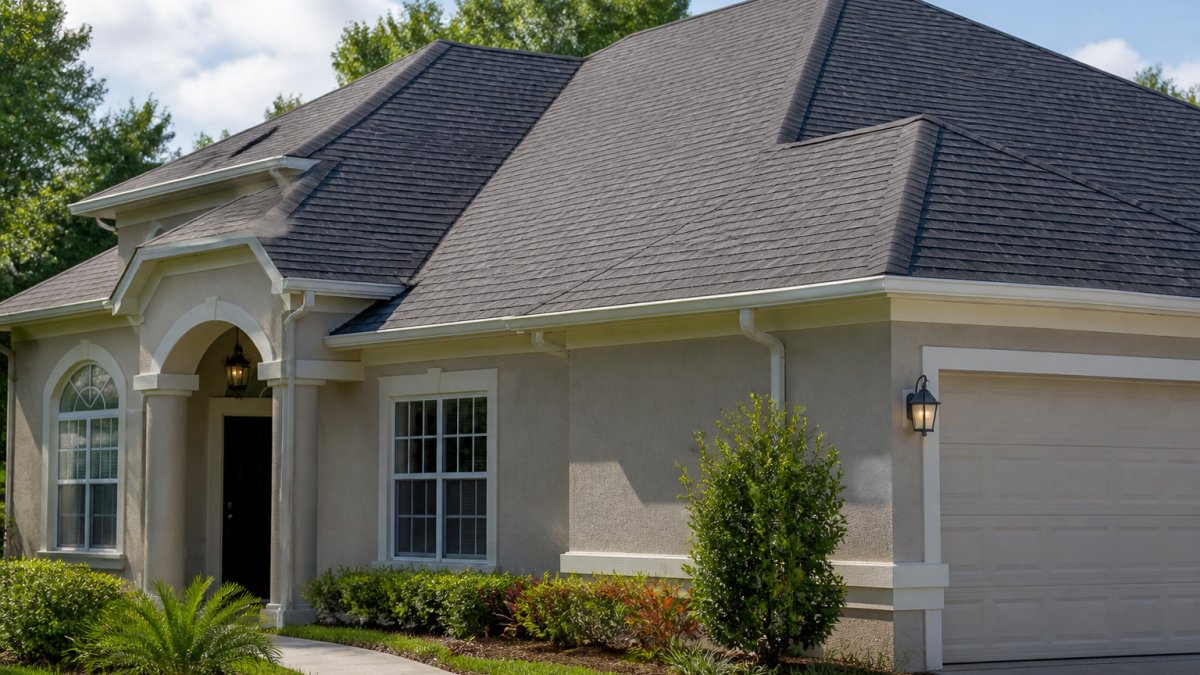
- Wide establishing shot, the whole roof slope or elevation, including the gutter line and any adjacent walls, so the adjuster can orient the damage.
- Mid-range context shot, the damaged area plus surrounding shingles so the adjuster can see contrast between damaged and undamaged material.
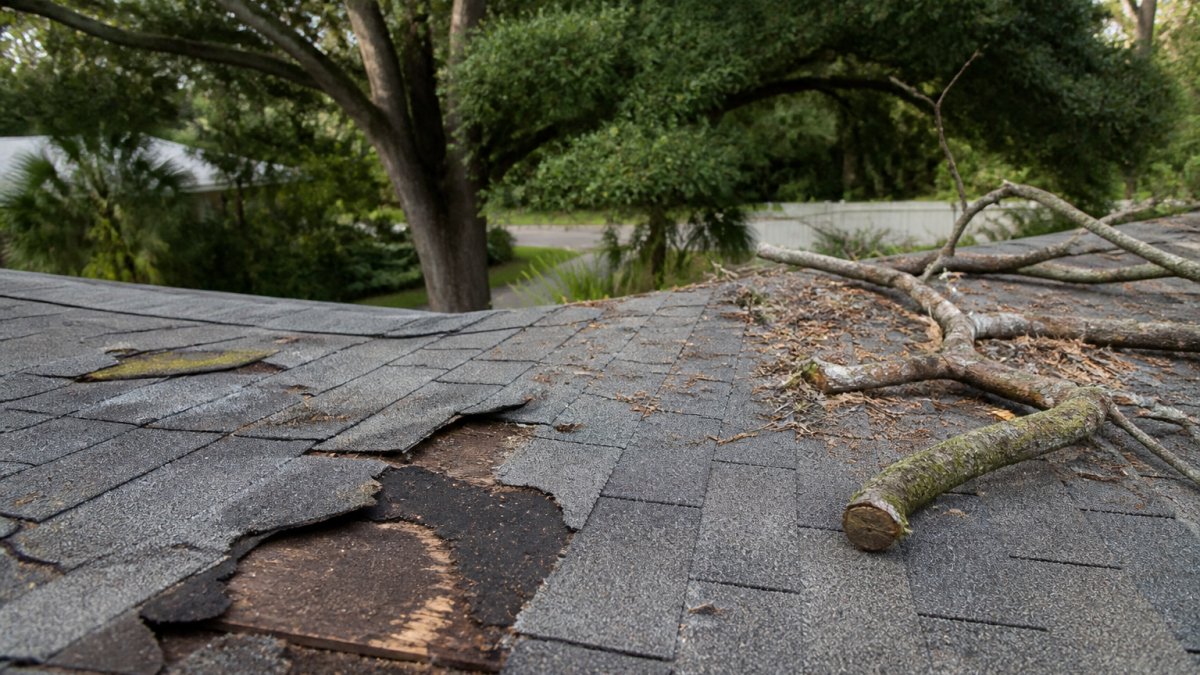
- Close-up detail shot, the damage itself (missing shingles, dents, cracks, holes, granule loss) with a scale reference.
- Ground-level debris shot, any shingles, granules, or debris that landed below the damage, which helps tie the damage to the storm.
- Overall roof line shot, the full roof from a distance to show condition and any tarping or temporary repairs.
Scale references and what not to photograph
Include a reference object in close-ups. A coin, a ruler, or a common household item next to the damage helps show scale. This is especially useful for hail damage, which can be hard to judge from photos alone. Avoid photographing people, license plates, or anything that identifies neighbors without permission, and skip artistic angles that don't show the damage clearly.
Timestamps, file names, and backups
Date stamp your photos if your camera or phone does this automatically. If not, write the date on a piece of paper and photograph it alongside your damage photos. This proves when the photos were taken. Rename files with a consistent pattern, for example, 2026-10-18_front-slope_missing-shingles_01.jpg, so you can sort them chronologically and reference them in your written report. Back up your photos to a cloud folder or an external drive the same day you take them, and keep the originals untouched.
Creating a Roof Damage Report for Insurance Claims
A roof damage report is your written account of what happened and what you observed. This document supports your photos and gives context to the damage.
Start with the basics. Write down the date of the storm, the type of weather (hail, wind, rain, etc.), and the approximate time it occurred.
Next, describe the damage you found. Be specific.
Include details about your roof itself. How old is it? If you've had a recent Roof Inspections performed, include that report as part of your documentation to establish the roof's pre-damage condition.
Document any interior signs of damage. Did water leak into your attic? Do you see stains on ceilings or walls?
Keep your report factual and straightforward. Don't speculate about repair costs or blame anyone. Just describe what you see and what happened.
Building Your Roof Damage Insurance Claim Checklist
Organization is key to a successful roof insurance claim. Use this checklist to gather and organize everything you'll need, and pair it with a simple evidence log so nothing slips through the cracks.
| Item | Purpose | Status |
|---|---|---|
| Dated photos of damage | Visual proof of what happened | ☐ |
| Weather reports for the date of storm | Confirms the cause of damage | ☐ |
| Written damage report | Documents your observations | ☐ |
| Insurance policy | Shows your coverage details | ☐ |
| Previous roof inspection reports | Establishes roof condition before damage | ☐ |
| Repair estimates from contractors | Supports claim amount | ☐ |
| Receipts for emergency repairs | Proves you took action to prevent further damage | ☐ |
| Video walkthrough of damage | Alternative documentation format | ☐ |
Build a reusable evidence log
A checklist tells you what to gather; an evidence log tells you what you have and when you got it. Create a simple spreadsheet with columns for date, location on the roof, description of evidence, file name, and claim contact. Update it every time you take photos, receive a report, or speak with your insurer. This log becomes your single source of truth if the claim is disputed later.
Organize digital files with a folder structure
Set up a folder on your computer or cloud drive named for the claim, then use subfolders such as 01_photos, 02_reports, 03_receipts, 04_correspondence, and 05_submissions. Keep file names consistent and include dates. Back up the entire folder weekly to a second location. If you submit files digitally, save a copy of exactly what you sent in the 05_submissions folder along with the date and the name of the person you sent it to.
Follow a timeline
Separate your documentation into four phases so you know what to do when:
- Immediately after the storm, safe ground-level photos, notes on date and time, and any temporary repairs.
- Before the adjuster visit, written damage report, contractor estimates, weather records, and a chronological photo folder.
- During the inspection, notes on what the adjuster examined, questions asked, and any areas they could not access.
- After a decision, copies of the decision letter, any reinspection requests, and additional evidence gathered for an appeal.
Start gathering these items as soon as you notice damage. Keep everything in one folder, either physical or digital. Label each document clearly with the date.
Contact your insurance company within the timeframe specified in your policy. Most policies require you to report damage promptly. When you call, have your policy number and a brief description of the damage ready.
Documenting Roof Leak Insurance Claims
Roof leaks present a special documentation challenge. The damage might not be obvious from outside, but the proof is inside your home.
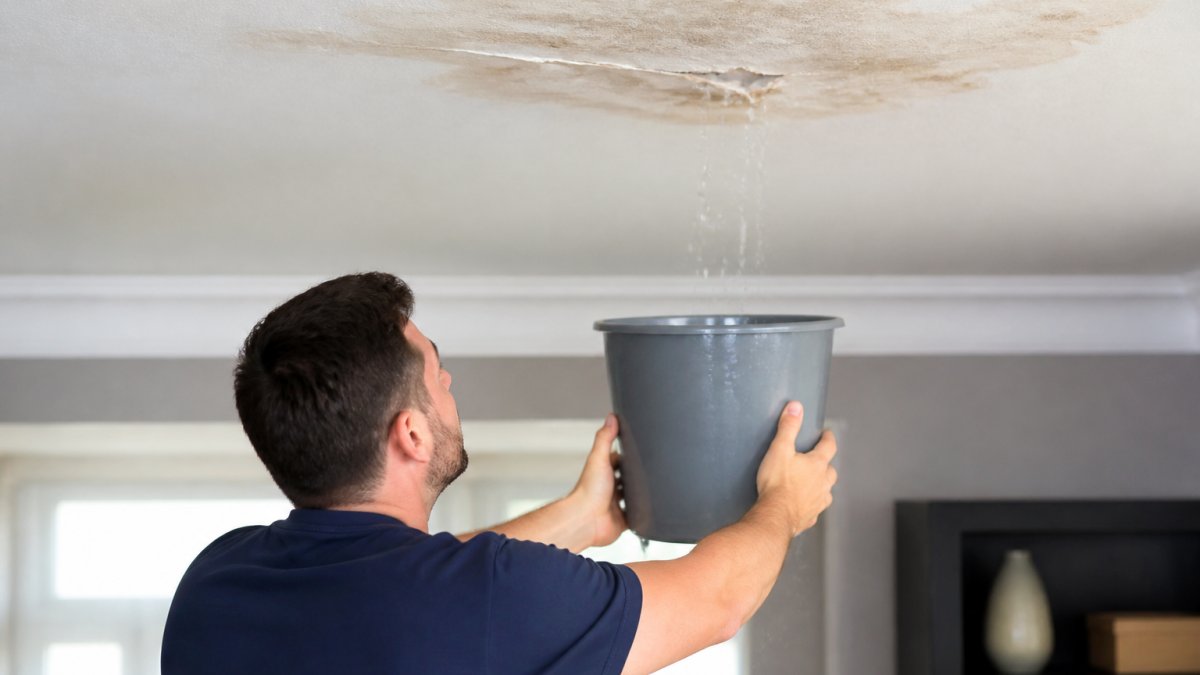
Start by photographing any water stains, wet insulation, or visible mold in your attic or upper floors. These photos show the interior impact of the roof damage.
Request a Free Roofing Estimate →
If the leak is active during or after the storm, photograph water actively dripping or pooling.
Keep records of any temporary repairs you make. If you place a bucket under a leak or patch a hole with tarps, photograph those actions.
Document the date the leak started and when you first noticed it. Write down whether the leak appeared during the storm or after. This timeline helps establish causation.
If you hire a contractor to perform emergency repairs or to assess the damage, get a written report from them.
Preparing for Your Insurance Adjuster Inspection
The insurance adjuster will visit your property to inspect the damage firsthand. Your preparation matters.
Before the adjuster arrives, clean up debris if it's safe to do so.
Have all your documentation ready to show the adjuster. Organize your photos chronologically. Bring your written damage report, weather records, and any contractor estimates.
Walk the adjuster through the damage. Point out specific areas and explain what you observed. If you took photos from angles the adjuster can't easily see, show those photos.
Answer questions honestly. If you don't know something, say so. Don't guess or speculate. The adjuster is trained to spot inconsistencies, and honesty builds trust.
Ask the adjuster questions too. What will they recommend? What happens next? When will you hear about the claim decision? Understanding the process reduces stress and keeps you informed.
Submitting Your Roofing Insurance Claim Documentation
Once you've gathered everything, it's time to submit your roof insurance claim documentation formally.
Contact your insurance company and ask for their preferred submission method. Some companies want digital files, others prefer physical copies. Ask whether they need originals or copies.
Organize your submission logically. Group photos together. Label each item clearly. Create a cover sheet that lists everything included.
Keep copies of everything you submit. This protects you if documents get lost in the process. Store copies in a safe place, separate from your originals.
Follow up with your insurance company. Ask for a claim number and timeline for review. Check in periodically to confirm they received everything and to ask about status.
If your claim is denied or underpaid, don't panic. You have options. Review the denial letter carefully to understand the reason.
At Roofing Done Right, we work with homeowners on roof insurance claims regularly. Whether you need a Roof Repair, Roof Replacement, or a Free Roofing Estimate, a licensed contractor's report can make a real difference in claim approval.
Frequently Asked Questions
What should I document for a roof insurance claim?
Document the date and time of the damage, take dated photos and videos from multiple angles, collect weather reports or storm records, gather receipts for temporary repairs, note the extent of damage in writing, and keep your insurance policy handy. Organize all materials chronologically. If a contractor inspects the damage, request a written assessment. The more complete your documentation, the stronger your claim when you submit it to your insurance company.
How soon should I document roof damage after a storm?
Document damage as soon as it is safe to do so, ideally within 24-48 hours. Fresh damage is easier to photograph clearly, and weather records are easier to locate. Make temporary repairs to prevent further damage if needed, but photograph the original damage first. Do not delay, insurance companies expect timely reporting. If you cannot access your roof safely, hire a licensed contractor or roofer to assess and document the damage for you.
What photos should I take for a roof damage claim?
Take wide shots showing the overall roof and surrounding area for context, close-ups of specific damage like missing shingles or dents, photos from multiple angles and distances, and images of the damage against identifiable landmarks (gutters, vents, chimneys). Include the date in each photo using your camera's timestamp. Photograph undamaged sections for comparison. Take videos panning across the roof to show the extent of damage. Clear, well-lit photos with visible damage details strengthen your claim significantly.
What should I avoid saying to a roof insurance adjuster?
Avoid admitting fault, speculating about cause, or exaggerating damage. Do not say the damage has been there longer than it actually has, or claim damage from events not covered by your policy. Stick to facts: what you observed, when you observed it, and what weather events occurred. Let your documentation speak for itself. Do not pressure the adjuster or become confrontational. Keep responses honest and straightforward. If you disagree with the adjuster's assessment, request a second opinion or consult your insurance agent.
Documenting roof damage properly protects your interests and speeds up the insurance process. By taking clear photos, gathering supporting documents, and organizing everything logically, you give your claim the best chance of approval. When you're ready to move forward with repairs, Roofing Done Right can provide the professional assessment and expert service your roof needs. Get a free roof evaluation and let us help you navigate the repair process with confidence.