 ultimate-guide
Roofing Insurance Claim Assessment Guide for 2026
Table of Contents
- How the Roof Insurance Claim Process Works
- How to Document Roof Damage for Insurance
- Your Roof Insurance Claim Checklist
- What Happens During a Roof Insurance Adjuster Inspection
- The Roof Claim Appraisal Process Explained
- Common Mistakes That Hurt Your Claim Assessment
- Frequently Asked Questions
Last Updated: October 12, 2026
How the Roof Insurance Claim Process Works
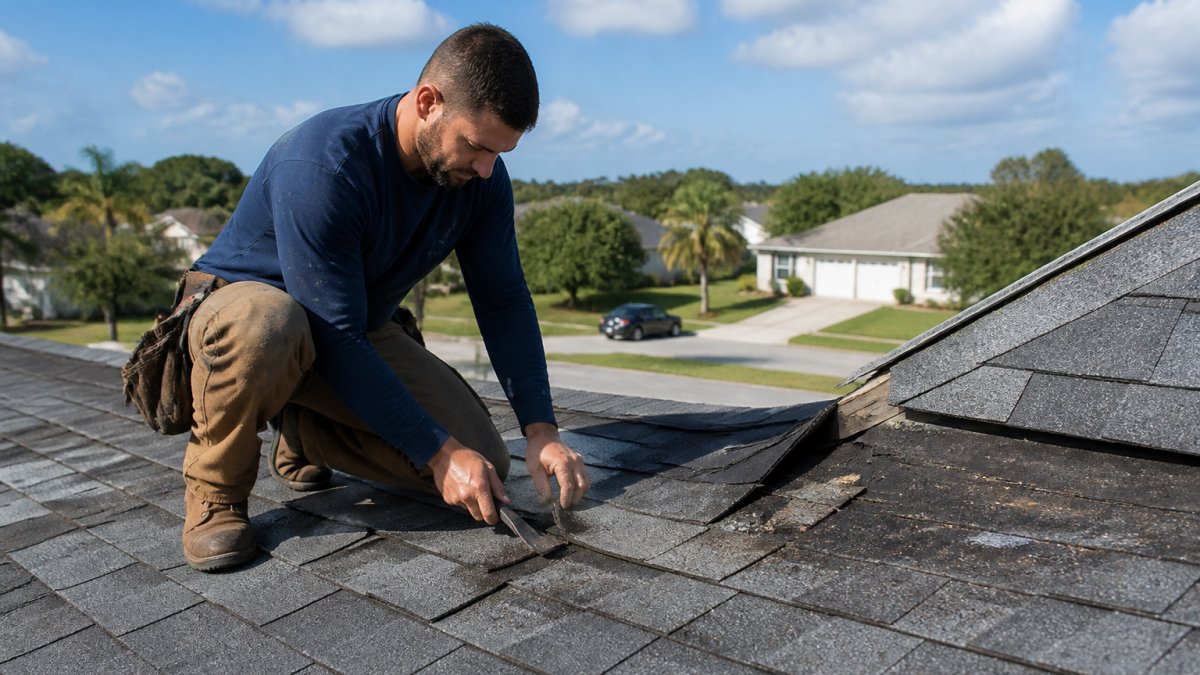
A roofing insurance claim assessment guide starts with one hard truth: the claim belongs to you, not to the contractor, the adjuster, or the roofer who knocks after a storm.
The process moves through predictable stages: you report the loss, the carrier assigns a claim number, an adjuster inspects the roof, and the carrier issues a decision based on policy terms. Every stage depends on the one before it, which is why a rushed first call can cost you later.
Here is the sequence most claims follow:
- Storm or damage occurs, and you notify your insurance provider
- The carrier opens the claim and schedules an adjuster inspection
- A professional roof inspection documents the damage independently
- The adjuster inspects and compares findings against your policy
- The carrier approves, partially approves, or denies the claim
- You review the repair estimate and dispute anything that is short
Notice what sits at the center: evidence. The Florida Department of Financial Services consumer claim resources walk homeowners through their rights at each stage, and the consistent theme is that documented claims move faster than undocumented ones.
How to Document Roof Damage for Insurance
Documentation is where most claims are won or lost, and it starts before anyone climbs a ladder. The goal: a record so complete the adjuster has nothing to argue with.
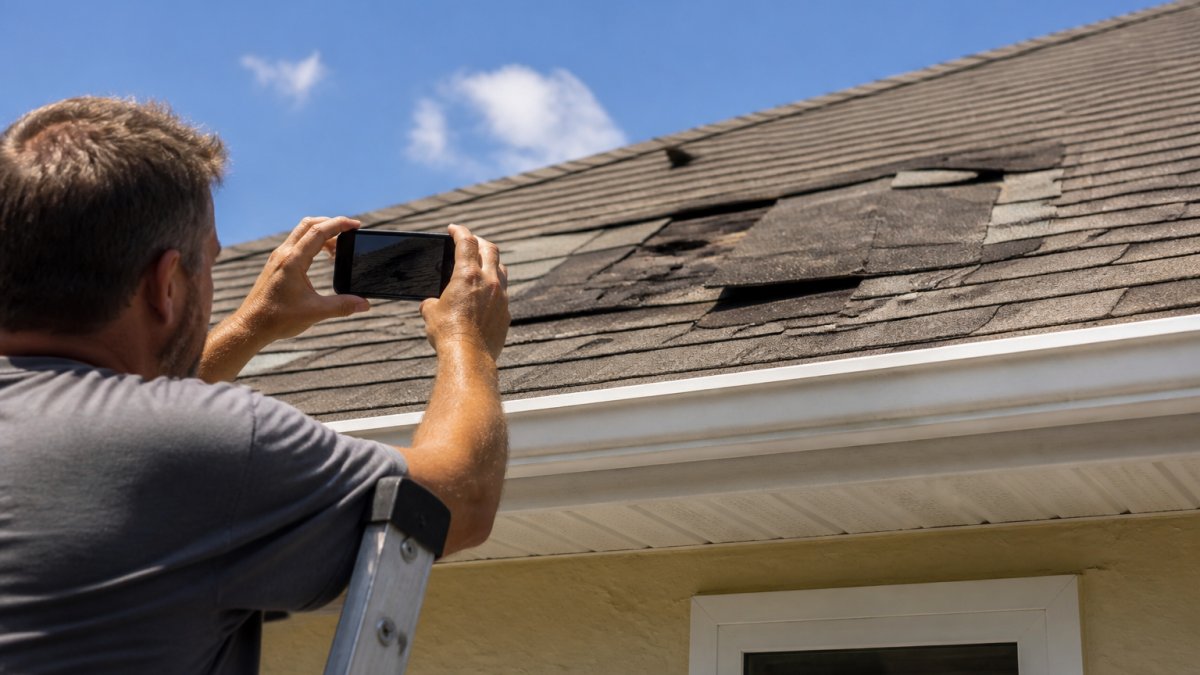
Write down what you saw and when, and date every note. Then photograph the roof from the ground, from each corner, and up close if safe.
Keep a running list: missing or broken shingles, granule loss, dents in soft metals, damaged gutters, vents, and siding. Group findings by roof section so the adjuster can follow your logic.
Photo Evidence and Written Notes
Photo evidence and written notes work together, and neither one carries a claim alone. A photo without a note is a picture. A note without a photo is a claim the adjuster cannot verify.
Label each photo with the date, roof location, and a one-line description. Store everything in one folder backed up off your phone, and if your carrier has a claims portal, upload as you go.
In your notes, record the storm date, when you noticed the damage, and any interior signs like ceiling stains or attic moisture, those details often connect roof damage to the rest of the claim.
Your Roof Insurance Claim Checklist
A roof insurance claim checklist keeps a stressful process from turning into a disorganized one. Work through it in order.
- Record the date and time you first noticed the damage
- Photograph the roof from the ground and from every accessible angle
- Write notes describing each type of damage and its location
- Save receipts for tarps, temporary repairs, and mitigation
- Locate your policy and read the deductible, exclusions, and coverage limits
- Confirm whether your policy pays replacement cost or actual cash value
- Report the claim to your insurance provider and get a claim number
- Schedule a professional roof inspection before the adjuster arrives
- Keep a written log of every call, email, and conversation with the carrier
- Review the adjuster's report against your own documentation
Two items cause the most trouble. Homeowners routinely skip reading the policy, then are surprised by the deductible or depreciation on an older roof. The second is the professional inspection: an independent report gives the adjuster a second set of eyes and a written record supporting your documentation. If you would rather leave that step to a licensed roofer, Roof Inspections document the damage properly so your claim starts on solid footing.
Policy Language, Exclusions, and Deductibles
Before you file, find your declarations page and coverage form. The declarations page shows your deductible, coverage limits, and named-peril or open-peril language; the coverage form lists exclusions. Read both.
Common exclusions include wear and tear, deterioration, improper installation, and lack of maintenance. Hail that fractures shingles is typically covered; granule loss from age is not. Wind that lifts shingles is typically covered; curling from sun exposure is not. The adjuster separates the two, and your documentation should help.
Your deductible applies before the carrier pays (Understanding your insurance deductibles). If your deductible is $2,000 and the covered damage is $1,800, the carrier owes nothing, that is the deductible working as designed, not a denial. Know your number before you file.
Actual Cash Value vs. Replacement Cost Value
Most policies pay one of two ways. Actual cash value (ACV) pays repair or replacement cost minus depreciation. Replacement cost value (RCV) pays the full cost, often in two payments: an initial ACV payment, then recoverable depreciation once the work is done and you submit invoices.
A worked example: suppose your roof has a replacement cost of $12,000 and a useful life of 20 years. It is 10 years old, so depreciation is 50%, or $6,000. Under ACV, the carrier pays $6,000 minus your deductible.
That timing matters: on a tight budget, the out-of-pocket gap between ACV and RCV can be significant. Check your policy to see which applies and whether depreciation is recoverable.
What Happens During a Roof Insurance Adjuster Inspection
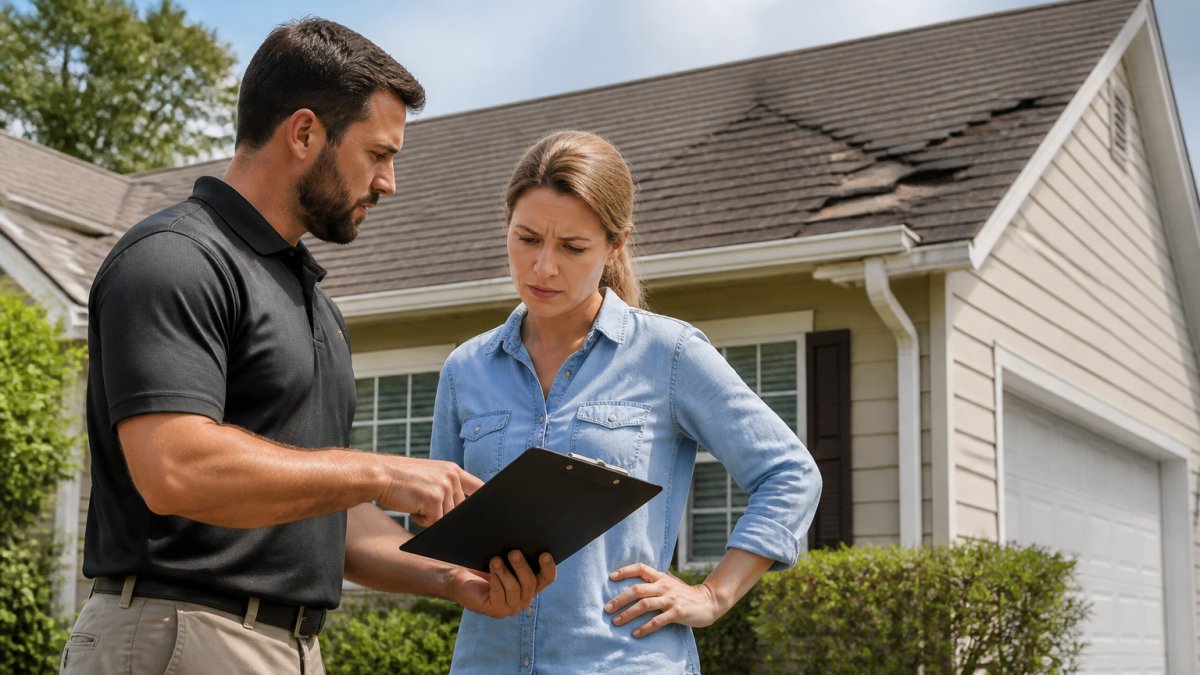
The adjuster inspection is a fact-finding visit, not a negotiation. The insurance adjuster inspects the roof, measures the damage scope, photographs what they find, and writes a report for the carrier.
Be present if you can. Walk the property with the adjuster, point out the damage you documented, and hand over your notes and photos. Do not argue coverage on the roof; save those questions for the written report.
What most homeowners miss is that the adjuster works for the carrier, not for you.
Request a Free Roofing Estimate →
The Roof Claim Appraisal Process Explained
The roof claim appraisal process is the formal route for resolving a disagreement about the amount of loss.
Appraisal is useful when the dispute is about value, scope, or depreciation rather than whether the damage is covered at all. If the carrier denies coverage outright, appraisal usually is not the right tool, that is a coverage dispute and follows a different path.
Before requesting appraisal, ask for a reinspection. A reinspection with your inspection report and photo evidence resolves a surprising number of disagreements and costs far less time than a formal dispute.
How to Challenge an Incomplete or Disputed Assessment
If the adjuster's report misses damage you documented, do not accept it. Start with a written reinspection request including your dated photos, professional inspection report, and a line-by-line list of what was omitted. Send it to your adjuster and claims examiner, and keep a copy.
If the reinspection still comes back short, you have options. A supplemental claim submits additional damage for review. Appraisal resolves value disputes. Mediation uses a neutral third party to help both sides agree, and some policies require it before appraisal or litigation. If the dispute is a coverage denial or the carrier is not responding in good faith, consult an attorney who handles insurance claims; many state insurance departments also offer consumer complaint processes.
Temporary Repairs, Mitigation, and Safety
After a storm, you have a duty to mitigate, to prevent further damage. That usually means tarping the roof, boarding broken windows, or removing debris. Keep every receipt; most policies reimburse reasonable mitigation costs only if you document them.
Do not climb on the roof yourself, wet shingles, loose granules, and hidden structural damage make falls likely. Hire a licensed professional for temporary repairs and photograph the damage from the ground before and after. You are not required to use your carrier's preferred vendor list, but confirm any contractor's license and insurance before work begins.
Claim Scams, Contractor Conflicts, and Ethical Boundaries
Storm chasers appear after every major weather event; some are legitimate, many are not. A contractor cannot guarantee coverage, make claim decisions for the insurer, or act as your public adjuster unless licensed. Never sign an assignment of benefits, a direction-to-pay form, or a contract giving a contractor control of your claim.
Verify any contractor's license through your state's licensing board, ask for proof of insurance, and get a written estimate with a scope of work. A contractor offering to waive your deductible is a red flag, often insurance fraud. You may hire your own contractor, but you remain responsible for the claim.
Common Mistakes That Hurt Your Claim Assessment
Mistakes in a roofing insurance claim assessment are rarely dramatic, they are small omissions that compound until the decision arrives.
The most common is waiting: storm damage does not improve with time, and delay makes it harder to prove what the storm caused versus age. The second is filing before documenting, leaving you describing damage you cannot show.
A fourth mistake: assuming the first offer is final.
Finally, be careful about who you let on your roof. Storm chasers move through neighborhoods after every major weather event, and the Florida Department of Business and Professional Regulation licensing lookup lets you confirm whether a contractor actually holds a state license before you sign anything.
Roof damage never arrives at a convenient time, and the paperwork can feel heavier than the storm. Whether the claim calls for Roof Repair or a full Roof Replacement, the work is done by a licensed Florida roofer.
Frequently Asked Questions
How do I assess roof damage for an insurance claim?
Start with a ground-level visual inspection using binoculars to spot missing shingles, granule loss, or dents in gutters and vents. Document everything with dated photos and written notes. Avoid climbing onto the roof yourself, as it can be dangerous and may void your policy. A licensed roofing contractor can provide a professional inspection report that details the damage scope and cause, which strengthens your roofing insurance claim.
What should I document before filing a roof insurance claim?
Create a detailed record: photograph and video all visible damage from multiple angles, note the date and weather conditions, and keep a written log of any temporary repairs. Collect receipts for mitigation expenses and any correspondence with your insurance provider. This documentation becomes part of your roof insurance claim checklist and helps prevent disputes over pre-existing wear versus new storm damage.
Should I get a roof inspection before contacting my insurance company?
Yes, a professional roof inspection before filing can identify all damage and give you a clear picture of what to claim. An inspection report from a licensed roofer serves as supporting evidence and helps you avoid missing hidden damage. It also prepares you for the adjuster's visit, as you'll know what to point out. Many roofing companies, including Roofing Done Right, offer free evaluations.
What if the insurance adjuster and my roofer disagree about roof damage?
If the adjuster's assessment differs from your roofer's, you can request a reinspection with both parties present. Provide your contractor's inspection report and photo evidence to support your case. If disagreement persists, the roof claim appraisal process allows both sides to hire independent appraisers to resolve the dispute. This is a formal step outlined in most policies and can lead to a fair settlement.
How long does a roof insurance claim assessment take?
Timelines vary by insurance provider and claim complexity. After filing, the adjuster typically schedules an inspection within a few days to two weeks. The assessment and initial decision may take another one to three weeks. If you request an appraisal or supplemental claim, it can extend the process. Keeping thorough documentation and responding promptly to requests can help speed things up.
What roof damage is typically considered storm-related?
Storm-related damage includes missing or broken shingles, hail dents on soft metals like gutters and vents, wind-lifted shingles, and water intrusion causing interior stains. Granule loss on asphalt shingles after a hail event also qualifies. Wear and tear from age is generally not covered. A professional inspection can distinguish between storm damage and normal deterioration, which is important for your roof insurance claim.